Depending on how deep the cone of your tube is, you may be able to define the tube as flat bottom and teach z_Bot as the end of the cylindrical section then accept the volume in the cone as dead volume? This could work down to like 20µL or so “lost” volume but could be a stopgap until a better solution.
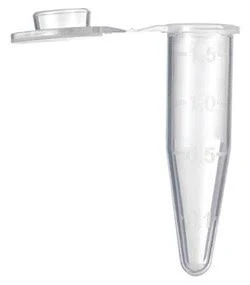
Maybe we’re talking about different tubes. I’m talking about the ubiquitous Eppendorf style 1.5ml tubes. The volume in the cone part is about 500ul. Every scientist I know calls them “Eppy Tubes” regardless of who manufactured them.
Why do people keep bringing up Fluent Control as an option? I thought that I could not use that on an Evo. Am I missing something? If there is a way to use the better software on the older robot then I am all for that, but I was under the impression that this was not an option.
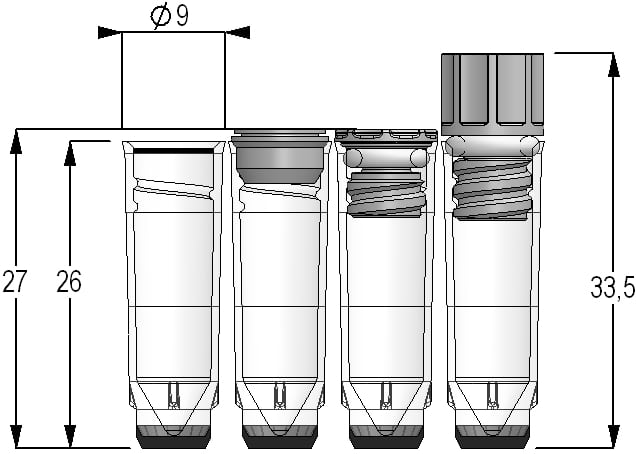
Oof there goes my plan. Sorry I was thinking about the 2.0 mL screwcap tubes with the small conic bottom section.
That does bring up a followup question though: Could you solve this problem by simply swapping your reagent tube?
Alternatively the best solution I could think of is to use some EVO commands to attempt to create your own volume calibration curve similar to what @Optimize recommended. You know the final volume is consistent at 500 µL which should also have a constant height off the worktable when that volume is detected. You could figure out your curve to basically maths out a function of z_height proportional to “amount of volume needed to reach 500µL”.
Another solution which could potentially work depending on your original sample volumes is to attempt to add a smaller amount like 100µL to reach a tube volume with reliable volume reporting, then do your norm from there instead. This could look like a loop in parts to 1st find well volume, then for volumes under 100µL, add 100 µL volume and re-measure those well. It’s not super elegant, but it would save you manual pipetting
Fluent is a newer system so has more modern features but the software cannot run an EVO.
As some upgrades are purely code package, to simplify use, with your issues you can still look at how Fluent improves the calculations and partly replicate.
The hardware on a Fluent has been upgraded for more accuracy but as suggested you can build a calibration/correction for liquid volume to work with at reasonable accuracy. If you need the final volume to be more accurate than +/-5ul then you may need to push to different labware, heavier calibration at each range with labware of a tighter manufacturing specs and v-bottom to allow the EVO to calculate liquid volume more accurately.
The challenge with eppendorfs is the angled walls as EVO was built assuming straight walls with different shaped bottoms. Hence a V-bottom matrix like tube would make a big difference. However, it depend on how much of an effort it is to switch you input samples.
apologies for the delay in getting this info to you,
as many people have said, the older EVO technology & EVOware calculations for labware isn’t as accurate as most people would like,
i added an extra level of capability by running firmware commands to extract the “height” of the liquid in a tube,
the commands included:
- SDM to set the detect mode
- SSL to set search speed
- SDL to set retract
- STL to set Z start height
- SML to set Z max height
- SBL to set Z submerge height
- SHZ to set Z travel height
- MDT to move tip, detect & submerge
- RPZ to report back the Z heights where tips detected
using the data reported from each tip from RPZ, these pass into some external code to convert (with a better designed algorithm) the liquid height to an actual volume,
the newly calculated volume can then be passed back to EVOware for use as the TIP_VOLUME
happy to answer more questions
Is there anywhere this stuff is documented? I know these commands exist, but I have never seen anything showing how to call them or use them. This has been one of the big mysteries about the EVO so far.
Your best bet would probably be to ask your apps or engineer if they could share the firmware commands for the LiHa. There’s a specific way to address each arm and some commands are unique so it’s not quite as straightforward as it seems.
A good way to learn these is to check logs which will have these firmware commands listed and what sort of values are passed to them. Alternatively, you can expand the log on the runtime control (I think this is bottom right of the popup that appears during script run?). This will show the commands in real time but it’s also difficult to parse as it scrolls by quickly.
OK. I was hoping not to have to reverse engineer all of that if someone else already knew it.

