I have yet to have any Hamilton sales rep reply to my requests to purchase this tool.
With 8+ STARs in production, iSWAP calibration drift due to crashes or labware mishandling force us to spend 40+ hours per month manually re-calibrating our iSWAP arms.
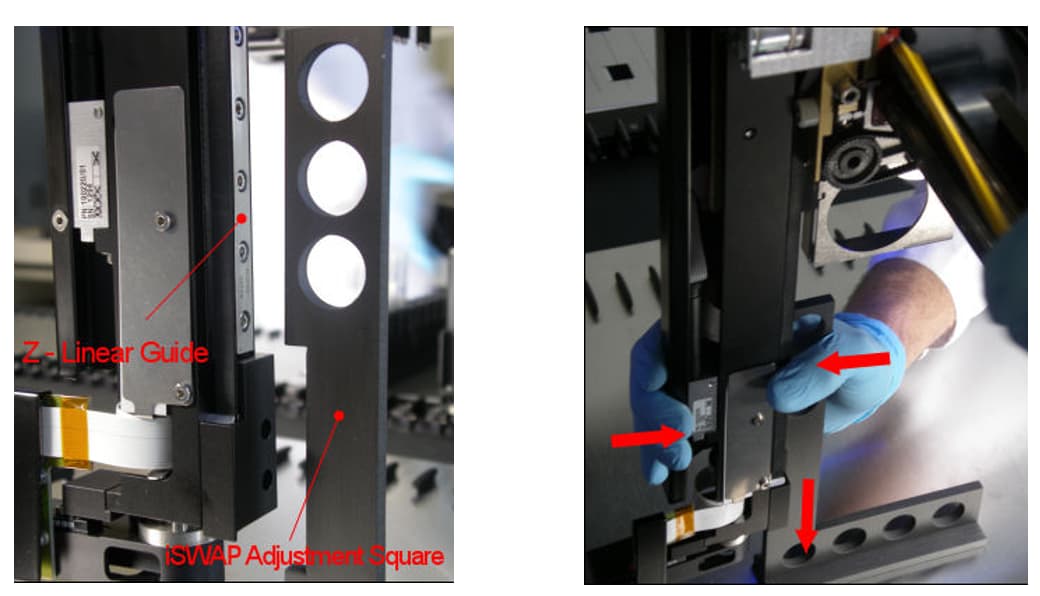
We know this can be done automatically with the iSWAP calibration tool, but there is no clear way to access this device, so instead we waste valuable engineer time aligning the arm by eye and re-teaching positions after every crash.
Does anyone know how we get one of these calibration tools?
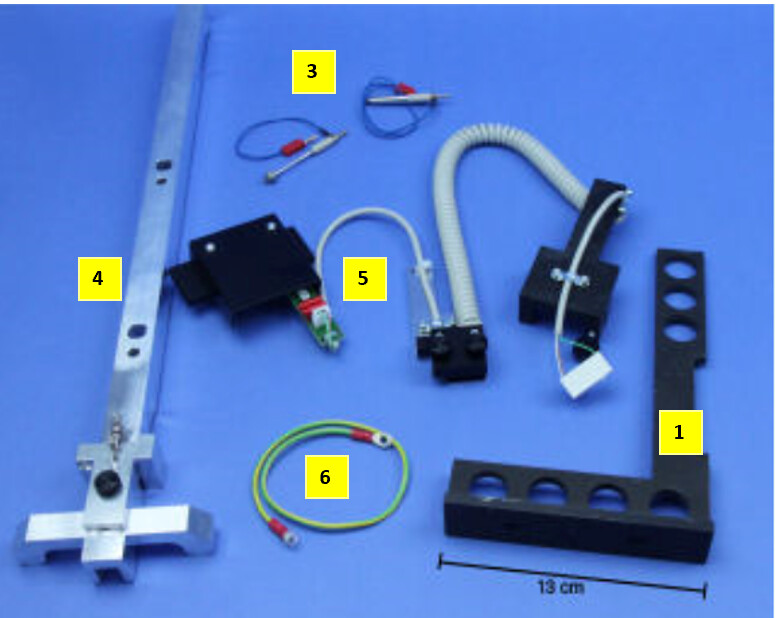
to adjust iSWAP, you have to purchase 6 service tools and get the service documents. It is not that simple, the engineer should be trained. After training, the engineer can do these service works with these tools. For some OEM partners of Hamilton, like Roche/Ausbio/Bioxun, their engineers will repair/install/adjust STAR themselves. So it is possible
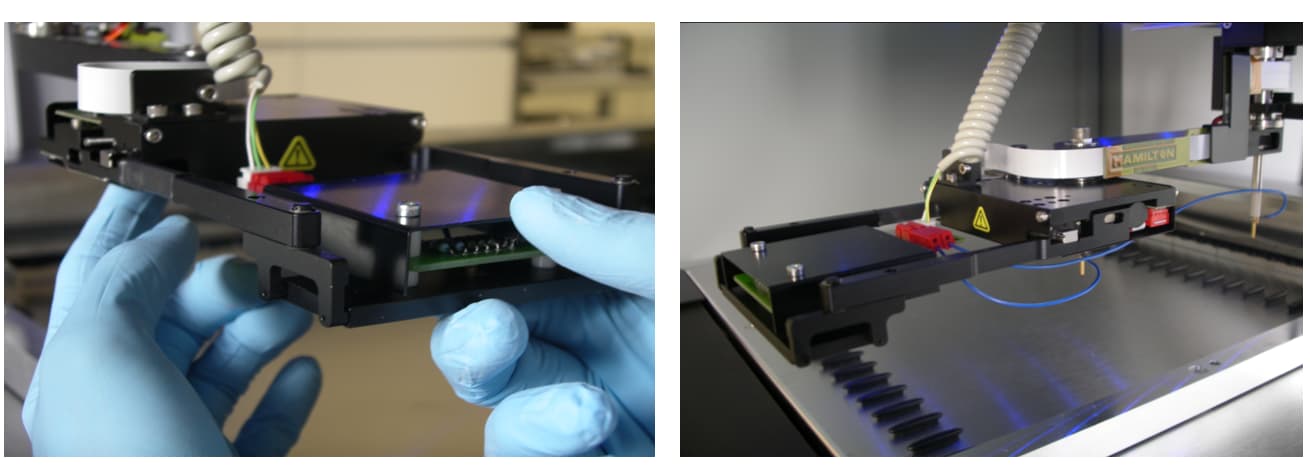
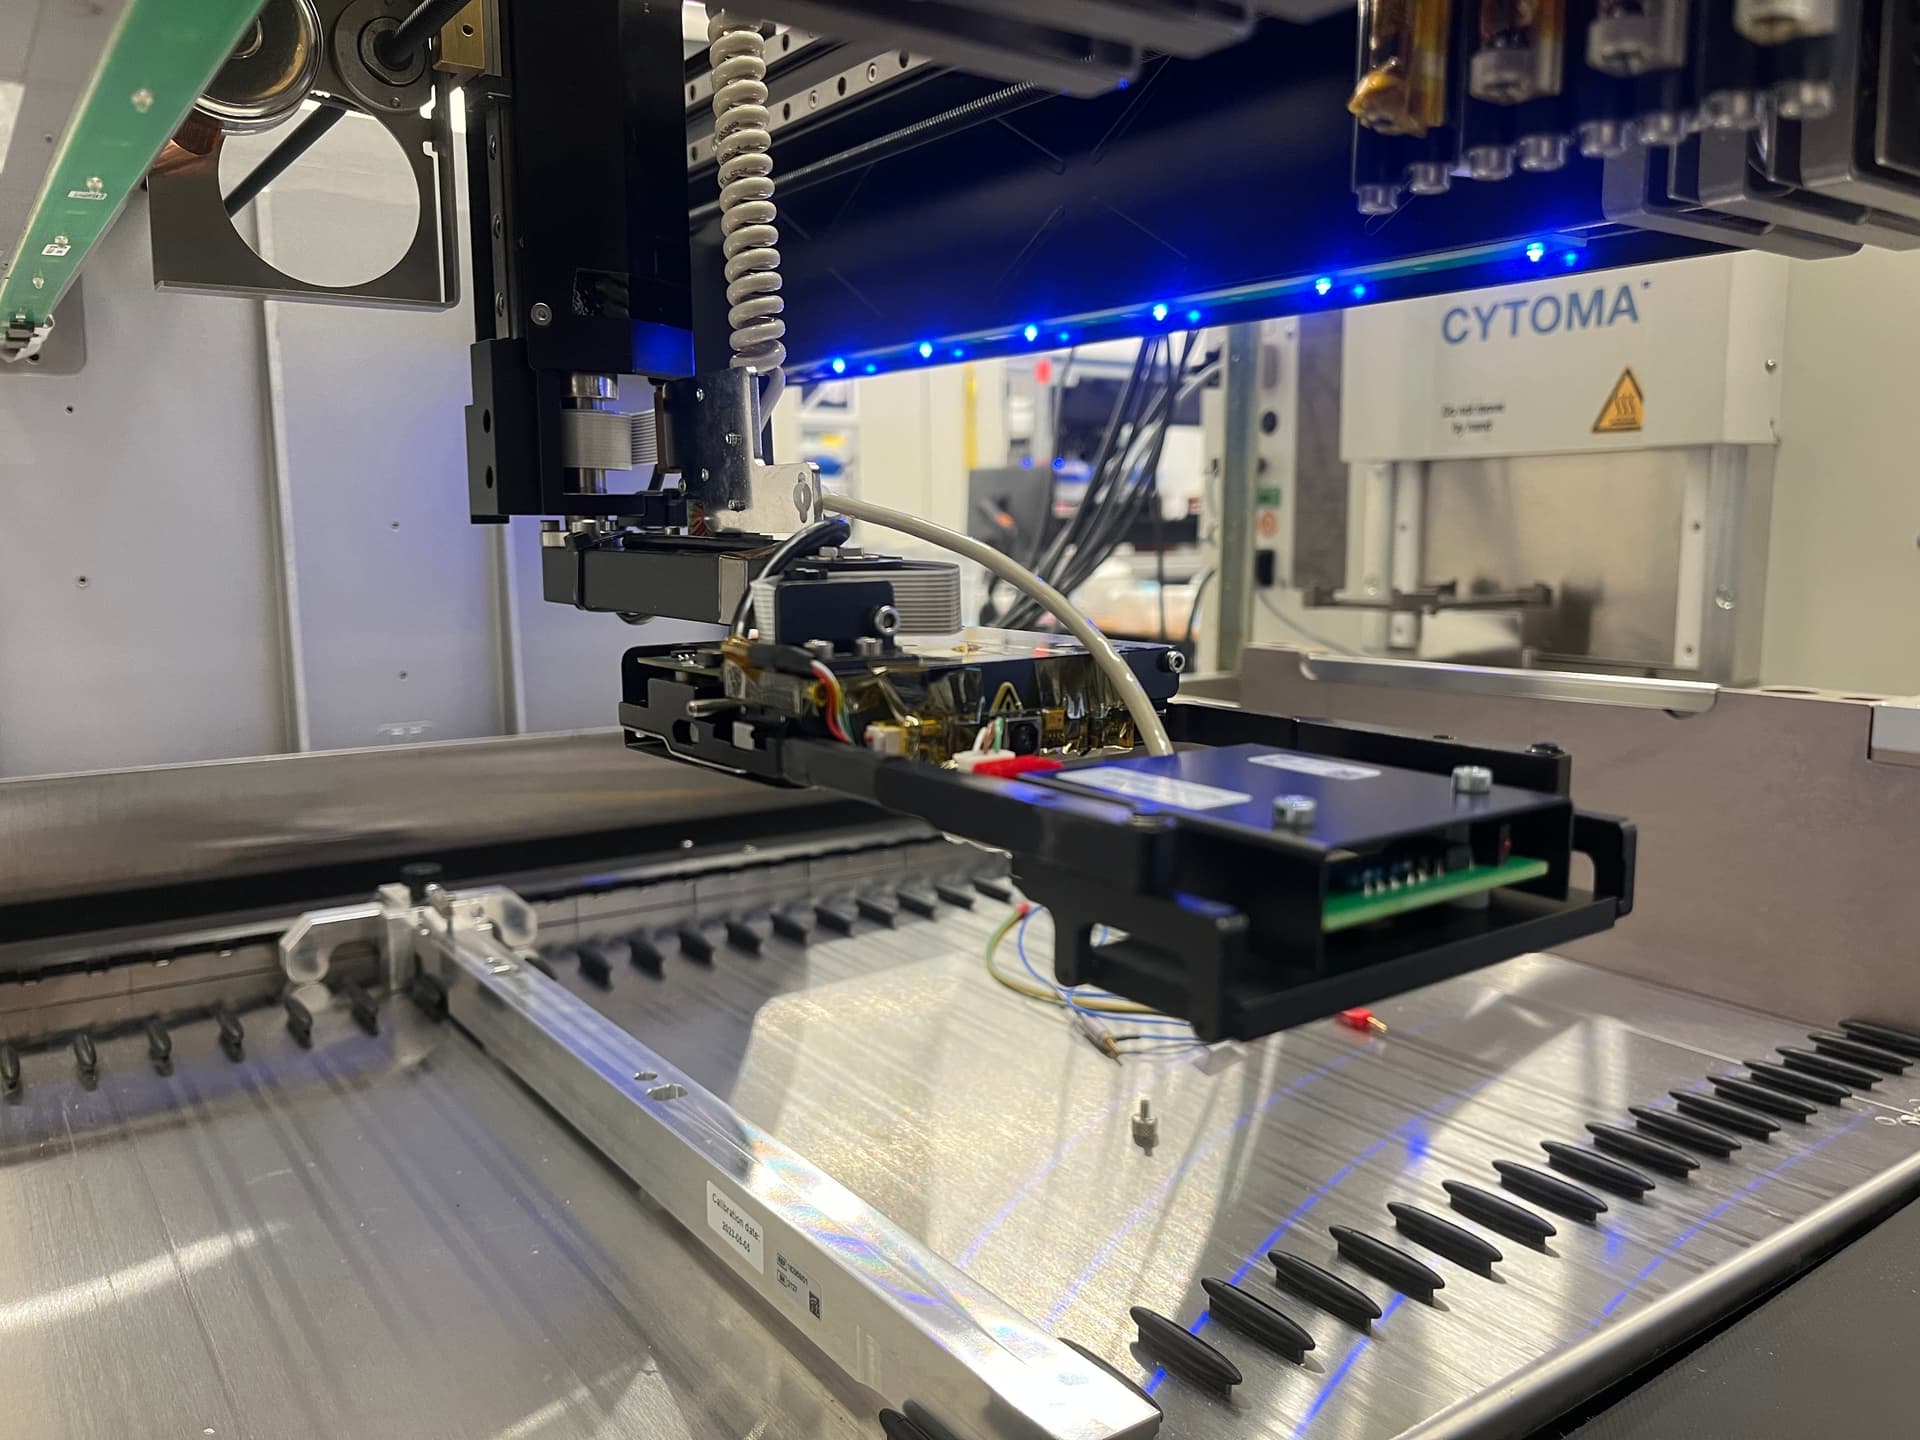
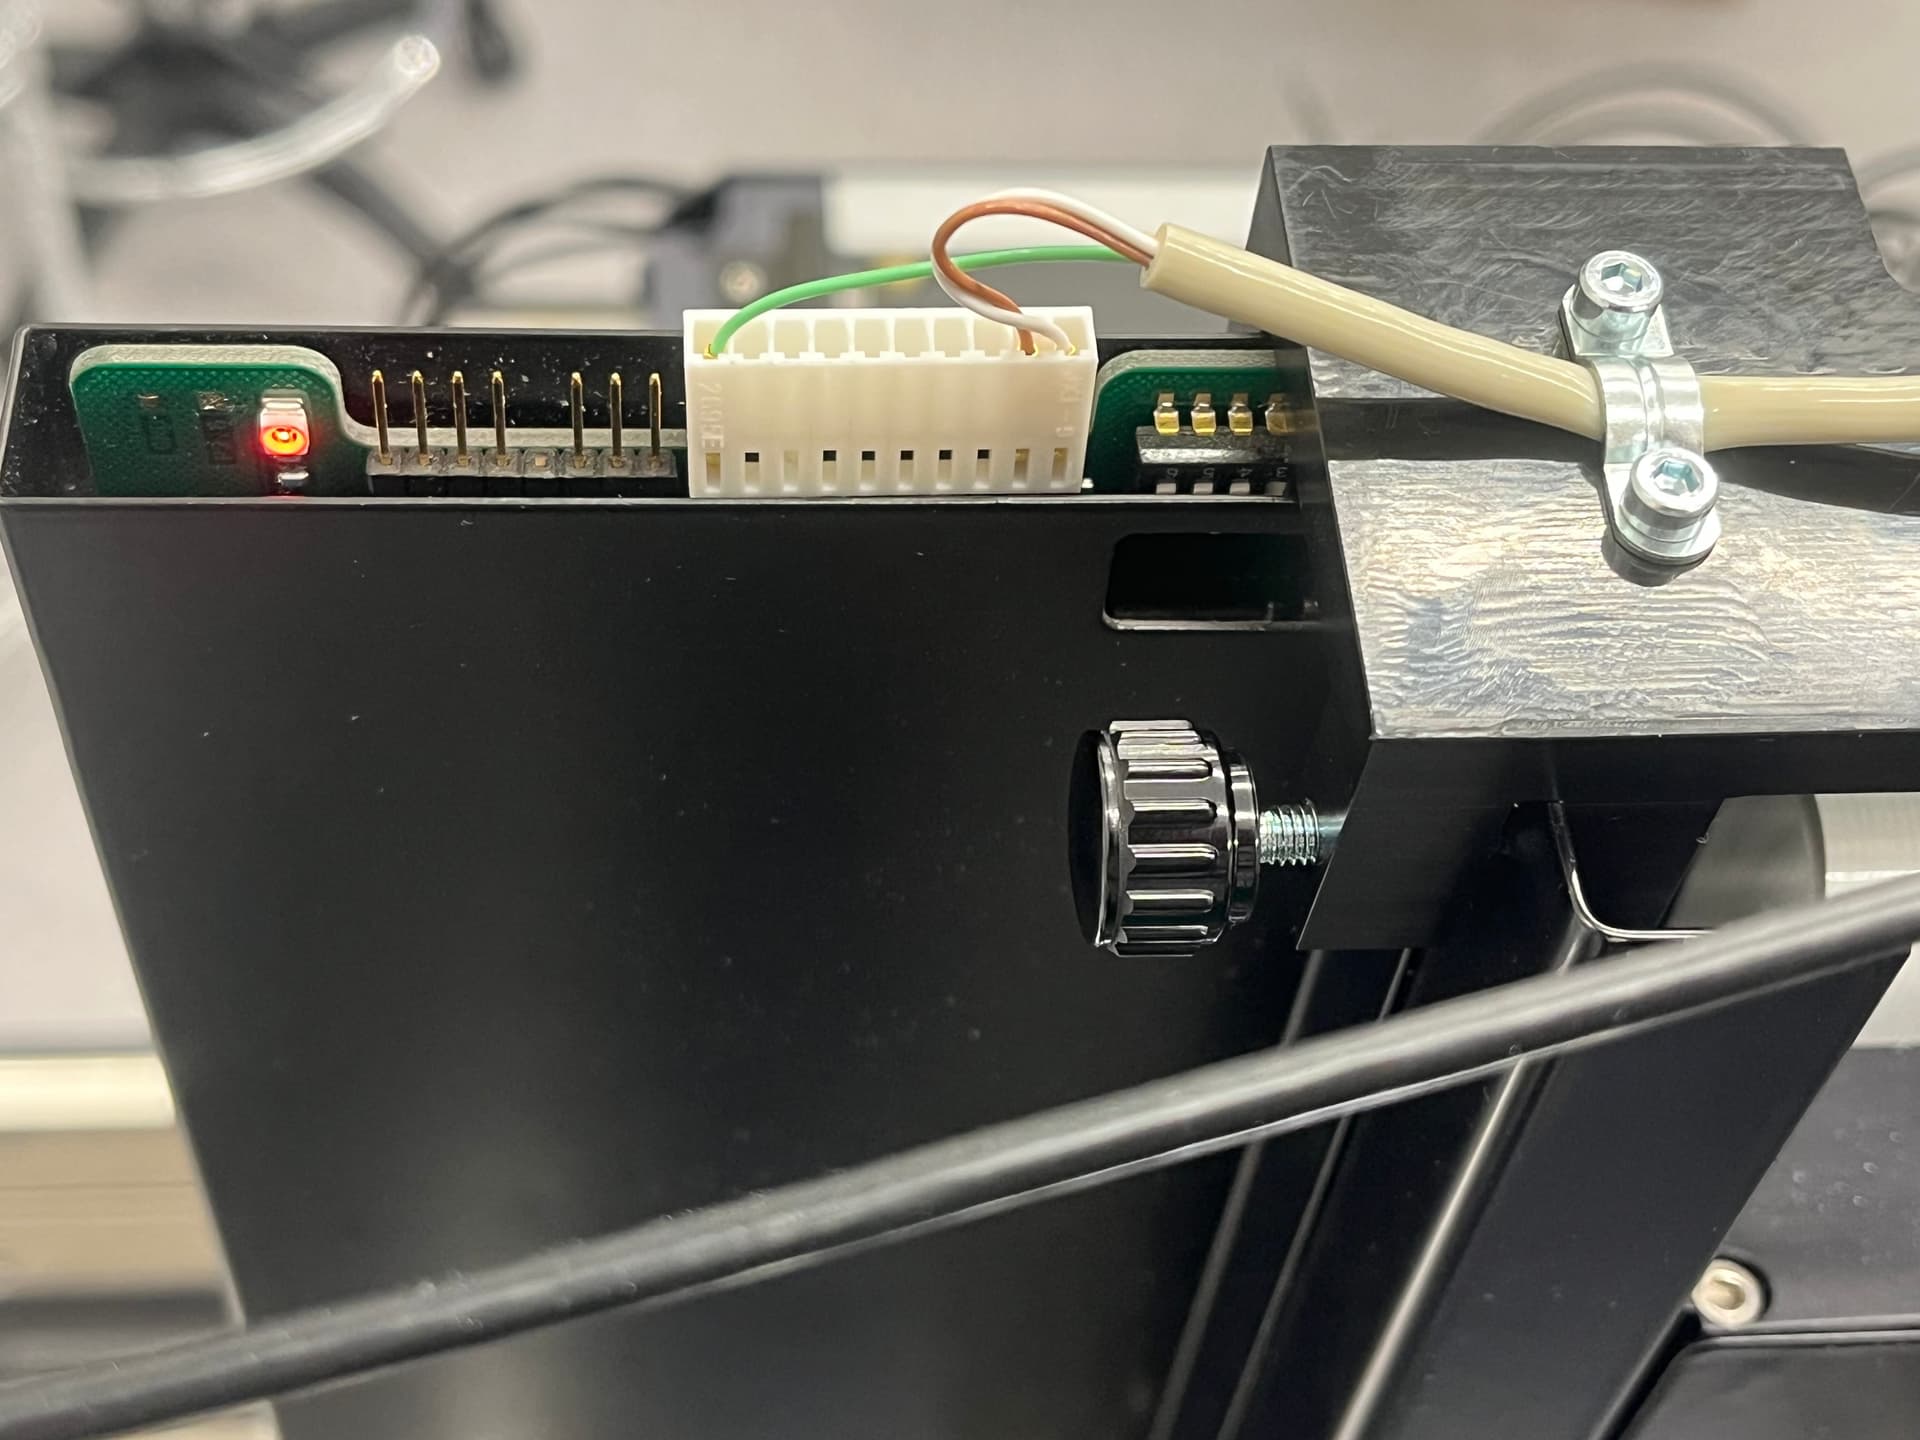
During adjustment, you have to connect a cable of service tool to the PCB of iSWAP when instrument is running, there is a high risk to damage the instrument. Also if the cable is not properly placed and fixed, it will block the rotation of iSWAP and this may misadjust iSWAP.
Realistically you only really need 3 and 5 from the items above. The “Adjust_Iswap_Above_Labware” uses the standard Star Tool. #1 is a square to verify that it is perpendicular to the deck. This could be 3D printed with enough accuracy to get you there.