Since we seem to have just an amazing live support line from the dilligent question answering and uploads from @EricSindelar_Hamilton and @WilliamCham_Hamilton figured we could have a one off thread for random VENUS questions. I’ll go first!
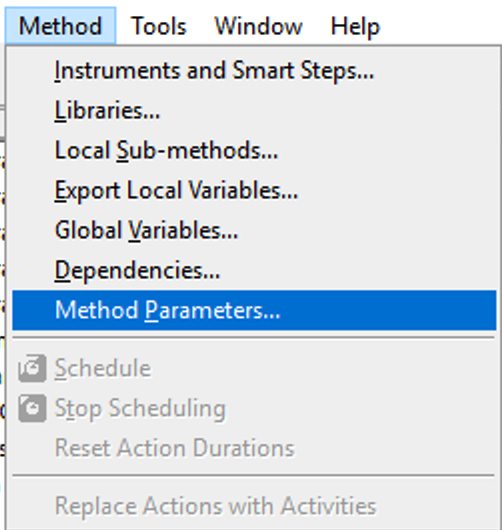
In the method editor tab there is a mysterious option that allows one to add parameters similar to how you add parameters to sub-methods. It looks like you define them to the main() function though. But how do I use this? Is it possible for me to invoke entire methods with parameters and where do I do that?
I actually haven’t used that specific option from the menu before, but it does appear to do nothing more than open the MethodParameters for the main Method tab (rather than any of the Submethods), which is the same thing as right clicking the Method tab and selecting Edit. Parameters assigned to the Method itself are only used by Workflows (Scheduler software/add-on) to be able to pass values into the individual instance of a scheduled Method.
There may be some other uses for Method parameters that I am unaware of, probably based on some less used features (e.g. Activity/Action Editor view!) but I cannot currently think of any. I also do not believe that these parameters can be populated using a command line execution of Run Control, as I do not see that as an example in our Run Control Command Line Options Help (C:\Program Files (x86)\HAMILTON\Bin\HxRunEnu.chm).
In short, that feature allows you to create your Method as a component of a larger workflow, which in most cases would require some kind of information to be passed in and out for multiple instances of the same Method running in a scheduled environment.
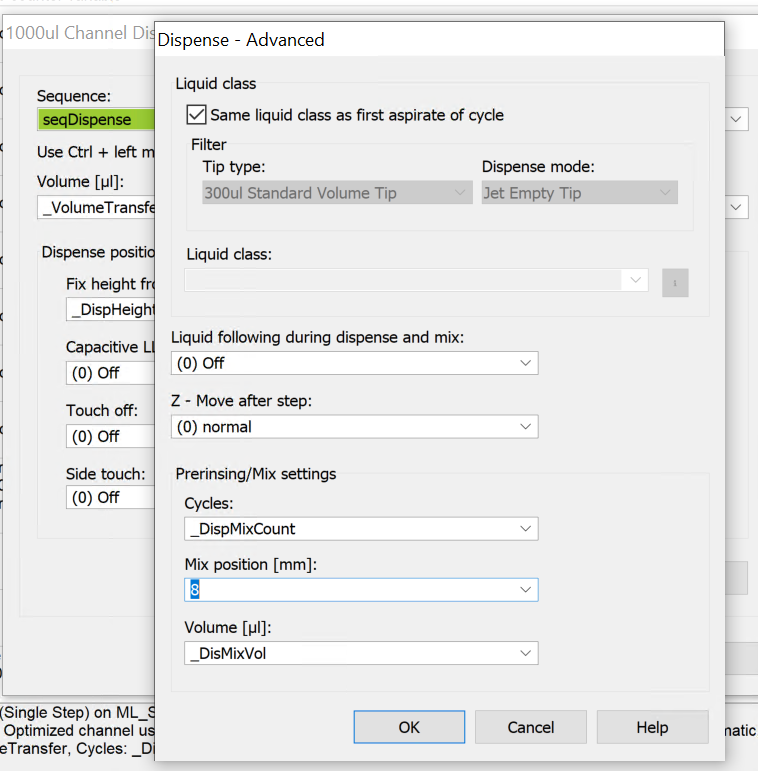
Is the “mix position” relative to the well bottom? I tried several values, but it always mixes at the bottom of the well. Any suggestions? @WilliamCham_Hamilton@EricSindelar_Hamilton
It is relative to the current position of the tip, additive to the Dispense Submerge Depth. If you have LLD enabled and a submerge depth of 2mm, a mix position of 2 will cause the mix to occur at 4mm from the surface of the liquid.
Thank you for your quick reply! I am using fixed height without LLD. If disp height is 3mm from bottom, a 2m mix position will make it at 1 to bottom or 2+3=5mm from bottom? @WilliamCham_Hamilton
Mix position would always go deeper into the well, unless you are using a negative value. So Fixed Height 3mm + Mix Position 2mm = Mix at 1mm from bottom of the well. I’m not 100% certain it uses this parameter at all if it’s a fixed height, though - I would suggest a quick test with an Aspiration using a Fixed Height of 20mm and a Mix Position of 10mm without actually placing a plate there (physically) and confirm whether or not it “mixes” at 10mm before moving back up to 20mm for the Aspiration.
Hi @WilliamCham_Hamilton To pierce a foil sealed plate using channels, which single step do you recommend to use: Aspirate or Move to Position or doesn’t matter? I also am wondering if Hamilton has a demo method to start with. Thanks!
Regarding the mixing position, i am 90% sure it is completely ignored for fixed heights.
Regarding the piercing, i have previously used a zero volume aspiration step. Just make sure you use a liquid class without air gap, and over-aspirate to prevent any plunger movement. I think the move to position should work as well, but haven’t tried that in this context.
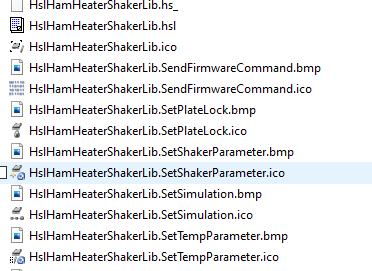
Fyi if you want to reduce the z speed during the piercing you can use PXAAzv firmware command. Any value below 12000 will slow it down. E.g PXAAzv06000 for half speed. Remember to set it back to it’s default afterwards: PXAAzv12000
I would also recommend putting it in the OnAbort tab.
PS: use firmware commands at you own risk and only if you know what you are doing!
Eric reached out to our team for some piercing details and demo, but much like @benjaminwohl said, generally I use an Aspirate at a fixed height (somewhere slightly below the foil position) rather than Move to Position. You can crash and damage the channels much more easily with Move to Position over an Aspirate command, especially if you’re using Relative or Absolute values instead of a sequence, so I would not advise using that step if possible.
Edit: Discovered Eric had already made the request for a demo method internally
Yeah, there are several approaches depending on the seal type and other things to consider so I wanted to take some time to gather consensus internally and provide good examples.
Generally speaking, the piercing is one step to consider and another step is ensuring proper pipetting after the seal has been pierced. The problem we run into is if you pierce and then try to aspirate, the tip could close the hole in the seal, then the pressure makes it challenging for the air displacement pipettor to do its job. So, venting using a specialized tip or by piercing twice (offset and then center) or considering pre-slit seals may be needed.
Another critical thing to consider is preventing the lift-up of the plate after piercing and pipetting. The tips can catch on the pierced seal and pick up the plate. During subsequent movement, this can cause some damage to your liquid handler.
Why is it when I engage Load Carrier (Single Step) for a tip carrier the auto load barcode doesn’t engage, but when use it on a Plate Carrier the barcode reader engages?
By engage I mean the top reader turns horizontal. The vertically oriented reader will reader the barrier barcode just fine.
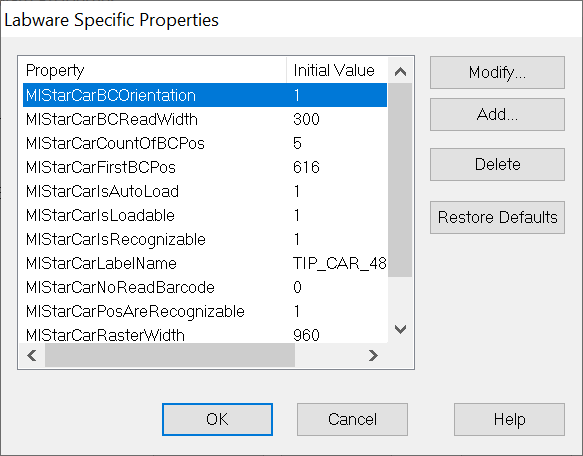
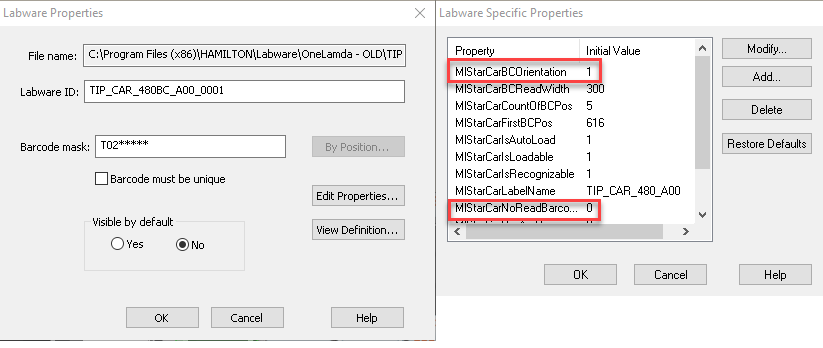
It has to do with the labware specific properties associated with the carrier. The default TIP_CAR_480_A00 definition has barcode reading disabled by default. If you used the TIP_CAR_480BC_A00 definition instead, the barcode reading is enabled. The labware definitions are the same apart from the labware specific properties the barcode reading is enabled and set to read horizontally. For more info on such properties, refer to section 10.4 of the programmer’s manual.
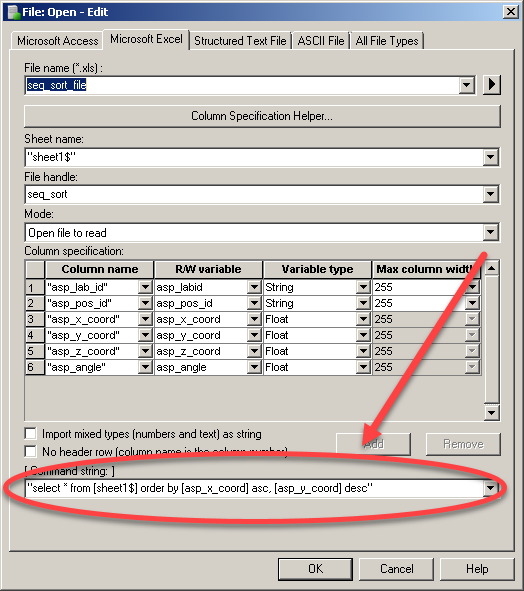
The help option in the File: Open command provides several examples of pertinent SQL statements. I also uploaded an example method here that provides several use cases.